Plum Bars

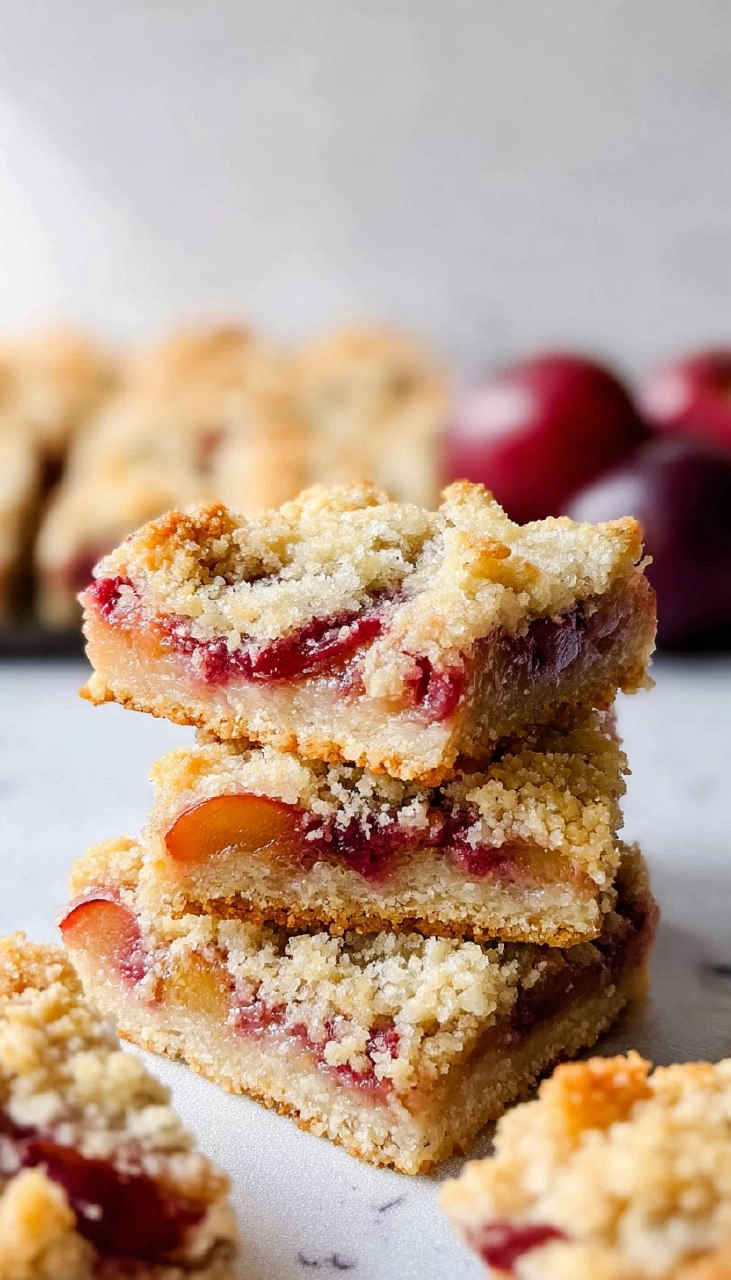
What could be more delightful than sinking your teeth into a freshly baked treat that balances sweet and tart flavors? Plum bars are the epitome of such a delightful experience, showcasing the vibrant color and rich taste of plums nestled within a buttery, crumbly crust. These bars offer the perfect segue between summer’s bounty and the cozy comforts of fall. With their tender texture and mouthwatering filling, each bite brings warmth and joy, making them an ideal snack or dessert for any occasion.
Table of Contents
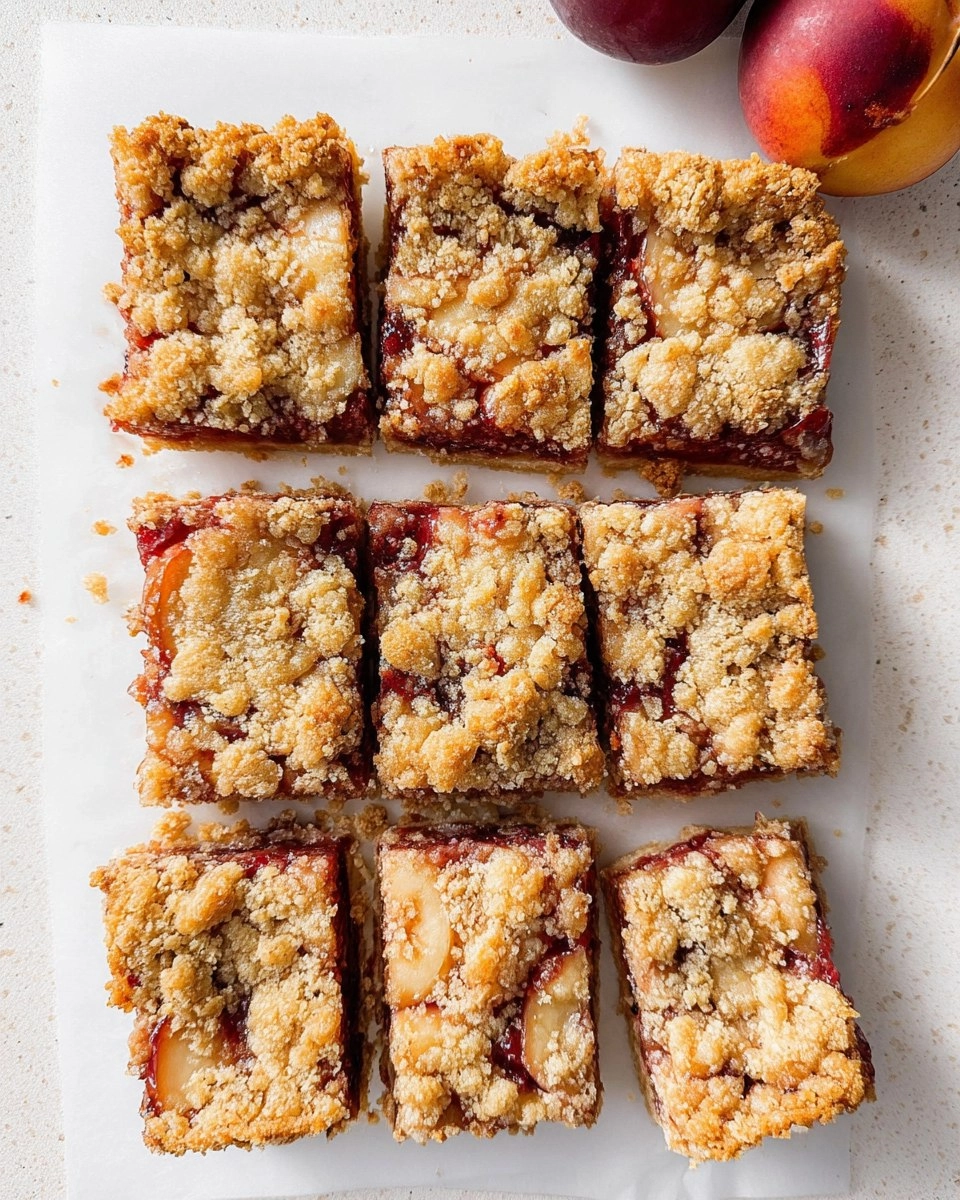
I first encountered plum bars at a quaint little bakery tucked away in the countryside. The moment I took a bite, I was entranced by the deliciously sweet aroma dancing in the air. The tartness of the plums, combined with the luscious buttery crust, instantly ignited my passion for baking. Now, I’m excited to invite you into my kitchen as I share my recipe for these irresistible treats. Trust me; once you experience the charm of homemade plum bars, you’ll never go back to store-bought again.
Why You’ll Love This Recipe
- Simple & Quick: With just a bit of prep, you can have these baked in about 30 minutes.
- Irresistible Flavor: The sweet plums mingle with the buttery crust, creating a delightful fusion of taste and texture.
- Eye-Catching Appeal: Their warm golden hue makes these bars a show-stopping treat at gatherings.
- Flexible Serving: Perfect for breakfast, an afternoon snack, or as a light dessert.
- Diet-Friendly Options: Easily adaptable if you need a gluten-free or dairy-free version.
Ingredients You’ll Need
- 1 ¾ cup all-purpose flour: This provides the structure for your crust. You can use whole wheat flour for a nuttier taste.
- ⅔ cup sugar: Granulated sugar adds sweetness to both the crust and the plum filling. Consider using coconut sugar for a lower glycemic option.
- ½ tsp baking powder: This leavening agent creates a light and tender crust.
- ¼ tsp salt: A small amount enhances the sweetness and balances flavors.
- ½ cup butter, cold: Use unsalted butter for the perfect rich flavor. For a dairy-free option, cold coconut oil works well.
- 1 egg, whisked: This binds the crust together, giving it a rich texture.
- 2 tbsp milk: Adds moisture to the dough. Non-dairy milk can be substituted if required.
- 4 plums, diced small: They are the star of the show, providing juicy goodness. You may also use apricots or peaches if plums aren’t available.
- ¼ cup sugar (for the filling): Sweetens the plums to create a delightful filling.
- 2 tbsp all-purpose flour (for the filling): Helps thicken the plum juices to prevent a soggy bottom.
- ½ tsp vanilla extract: Adds a lovely depth of flavor to the filling.
How to Make Plum Bars
- Preheat the oven and prepare your baking dish: Begin by preheating your oven to 400° F. Line an 8×8 baking dish with parchment paper for easy removal.
- Make the crust: In a large bowl, combine 1 ¾ cups all-purpose flour, ⅔ cup sugar, ½ tsp baking powder, and ¼ tsp salt. Next, use a cheese grater to grate ½ cup of cold butter into the mixture. Using your fingers, mix until it resembles coarse crumbs. Finally, stir in 1 whisked egg and 2 tbsp of milk until just combined.
- Prepare the plum filling: In a separate medium bowl, mix together 4 diced plums, ¼ cup sugar, 2 tbsp all-purpose flour, and ½ tsp vanilla extract until the plums are fully coated.
- Assemble the bars: Press ⅔ of the crust mixture into the bottom of your prepared baking dish to form a solid layer. Then, evenly distribute the plum mixture over the crust. Finish by sprinkling the remaining crust mixture on top.
- Bake to perfection: Place the baking dish in the oven and bake for 30-32 minutes, or until the edges are beautifully golden brown. Allow the bars to cool at room temperature before slicing into squares and savoring.
Storing & Reheating
To keep your delicious plum bars at their best, store them at room temperature in an airtight container for up to 3 days. For longer storage, place them in the refrigerator, where they will stay fresh for about a week. You can also freeze them for up to 3 months. Just wrap individual pieces in plastic wrap and then place them in a freezer-safe bag. When you’re ready to enjoy, simply reheat them in the oven at 350° F for about 10-15 minutes. Be mindful that freezing may slightly change the texture, but a warm reheat often brings back the original deliciousness.
Chef’s Helpful Tips
- Avoid overmixing the crust to keep it light and flaky.
- Make sure your butter is cold; this is crucial for achieving that tender crust.
- When preparing the plums, ensuring they’re diced small helps them cook down evenly and integrate well with the crust.
- If you’d like extra flavor, consider adding a pinch of cinnamon or nutmeg to the plum filling.
- These bars can be made ahead of time for family gatherings or get-togethers; they taste even better the next day!
Plum bars are such a wonderful treat that combines ease of preparation with an impressive final product. You’re encouraged to play around with various fruits or even add nuts into the filling. The beauty of this recipe is its versatility—allow your creativity to shine as you make them your own, and most importantly, enjoy the bright and bold flavors of these remarkable treats.
Recipe FAQs
Can I use frozen plums for this recipe?
Yes, you can use frozen plums! Just thaw them completely and drain any excess liquid before dicing and mixing with the sugar and flour. This helps maintain the right consistency in your filling.
How can I make these bars gluten-free?
To make gluten-free plum bars, simply replace regular all-purpose flour with a 1:1 gluten-free flour blend. Make sure to check that your baking powder is gluten-free as well.
What can I serve with plum bars?
Plum bars are delightful on their own but pair wonderfully with a scoop of vanilla ice cream or a dollop of whipped cream. Enjoy them with coffee or tea for a cozy afternoon treat.
Can I make the filling ahead of time?
Absolutely! You can prepare the plum filling a day in advance and store it in the fridge. Just mix it with the crust when you’re ready to bake for fresh, warm plum bars that are sure to impress.
PrintMore Desserts & Appetizers Recipes
Did You Enjoy Making This Recipe? Please rate this recipe with ⭐⭐⭐⭐⭐ or leave a comment.
📖 Recipe Card
Plum Bars
- Prep Time: 15 minutes
- Cook Time: 32 minutes
- Total Time: 47 minutes
- Yield: 9 servings 1x
- Category: Desserts & Appetizers
- Method: Baking
- Cuisine: American
Description
These plum bars are a delightful combination of sweet and tart flavors. With a simple preparation process and the rich taste of fresh plums, they are ideal for any occasion, making them your next favorite dessert!
Ingredients
- 1 ¾ cup all purpose flour
- ⅔ cup sugar
- ½ tsp baking powder
- ¼ tsp salt
- ½ cup butter, cold
- 1 egg, whisked
- 2 tbsp milk
- 4 plums, diced small
- ¼ cup sugar
- 2 tbsp all purpose flour
- ½ tsp vanilla extract
Instructions
- Preheat the oven to 400° F and line an 8×8 baking dish with parchment paper.
- In a large bowl, combine the all-purpose flour, sugar, baking powder, and salt. Grate the cold butter directly into the mixture using a cheese grater.
- Mix with your hands until the mixture resembles small pebbles. Then, add the whisked egg and milk and stir until combined.
- In another bowl, toss the diced plums with ¼ cup sugar, 2 tbsp flour, and vanilla extract until well mixed.
- Press ⅔ of the crust mixture into the prepared baking dish to form the base.
- Spread the plum mixture evenly over the crust in the baking dish. Sprinkle the remaining crust mixture over the top.
- Bake in the preheated oven for 30-32 minutes or until the edges are golden brown. Remove from the oven, allow to cool, then slice and serve.
Notes
Let the bars cool completely before slicing for the best texture.
Store any leftovers in an airtight container at room temperature for up to 3 days.
Feel free to substitute other fruits if plums aren’t available.
Nutrition
- Serving Size: 1 bar
- Calories: 240
- Sugar: 16g
- Sodium: 165mg
- Fat: 10g
- Saturated Fat: 6g
- Unsaturated Fat: 4g
- Trans Fat: 0g
- Carbohydrates: 36g
- Fiber: 2g
- Protein: 3g
- Cholesterol: 30mg