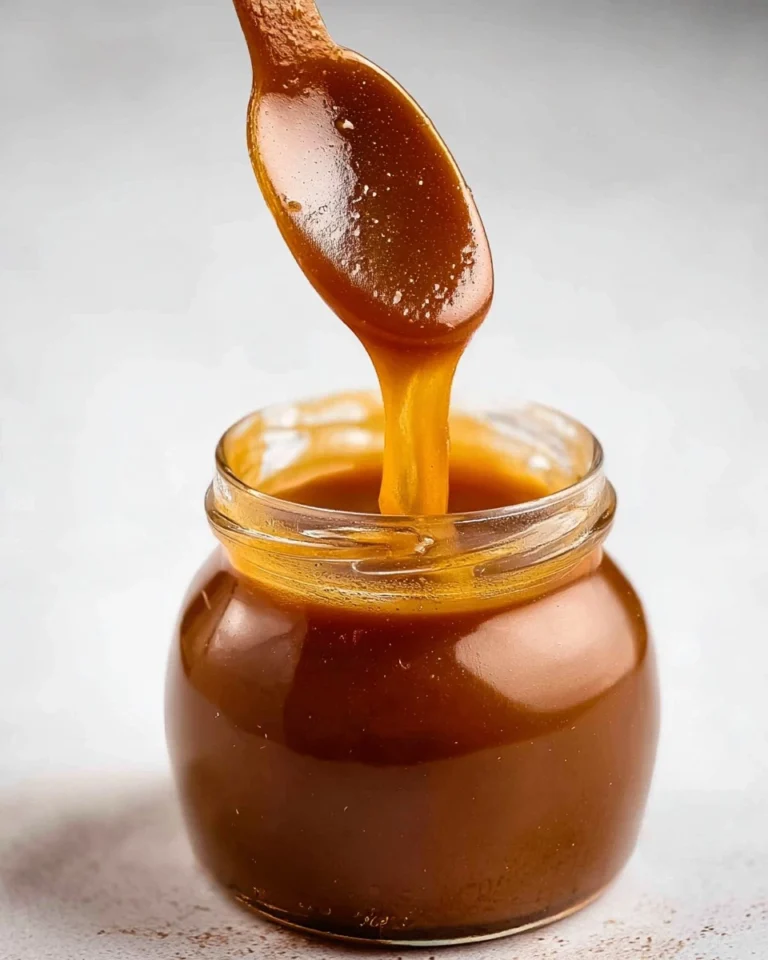
Creamy No Bake Apple Cheesecake Pie

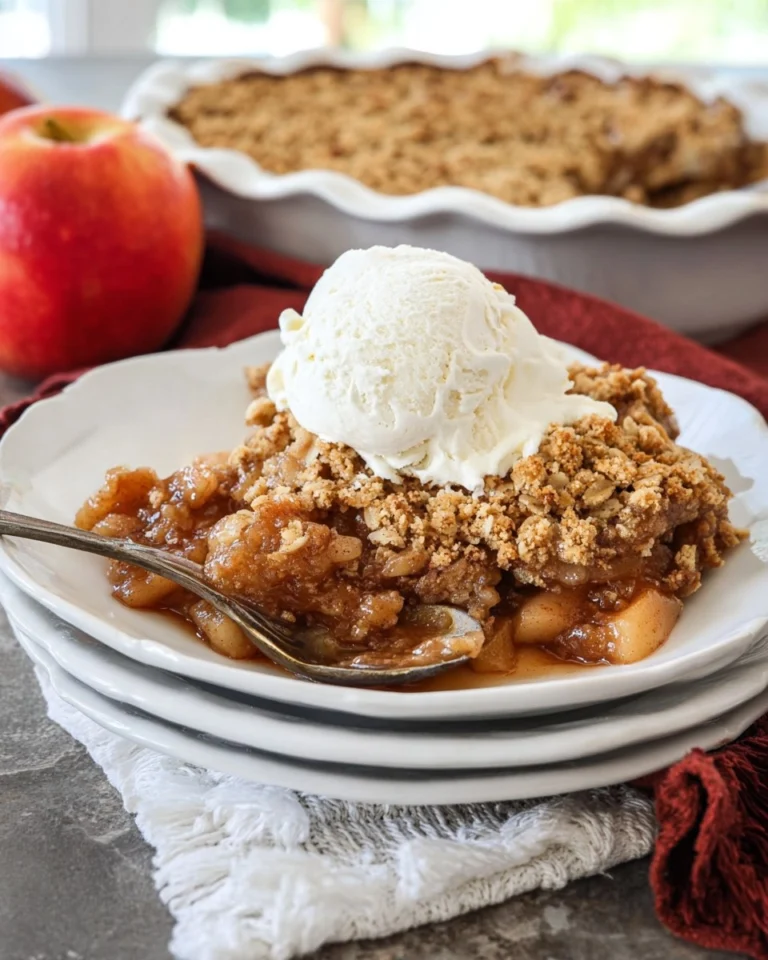
Creamy No Bake Apple Cheesecake Pie is a dessert that’s as delightful to the palate as it is to the eyes! This pie strikes the perfect balance between creamy and fruity, making it a standout treat for any occasion. Picture a smooth, luscious cheesecake filling cradled in a graham cracker crust and topped with the sweet flavor of apple pie filling — it’s a dessert that tempts at every gathering. Plus, the no-bake aspect makes it an ideal choice for even the busiest of days!
Table of Contents
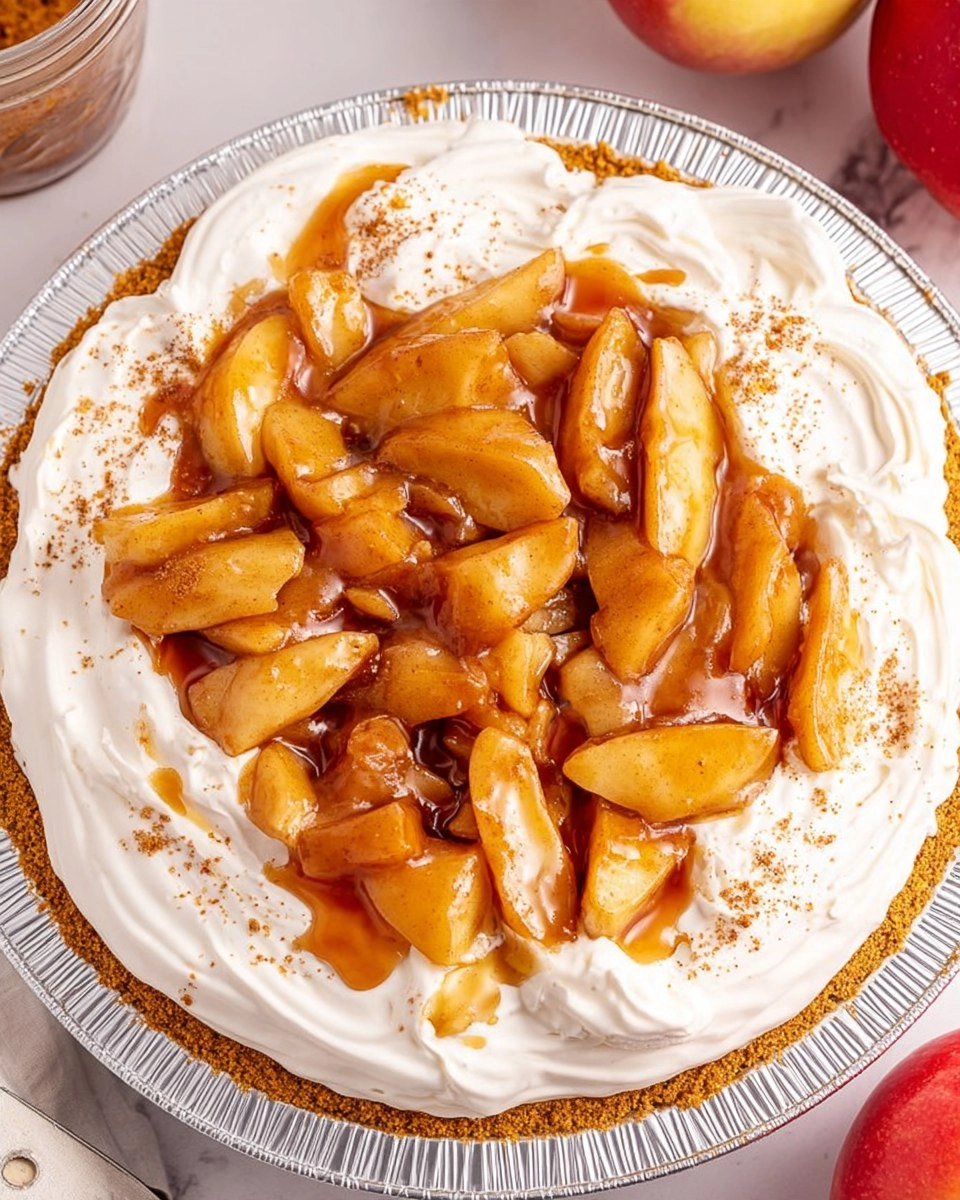
The first time I whipped up this delightful Creamy No Bake Apple Cheesecake Pie, it was for a family barbecue. As soon as I set it down on the dessert table, the aroma of cinnamon and apples drew everyone in. Within moments, the pie had vanished, leaving only crumbs and happy faces. This pie is not only simple to make, but it also offers that stunning homemade touch without the need for baking. Trust me; it’s a crowd-pleaser you’ll want to keep in your recipe collection!
Why You’ll Love This Recipe
- Simple & Quick: Whip this up in no time with just a handful of ingredients and minimal fuss, perfect for last-minute gatherings.
- Irresistible Flavor: The combination of creamy cheesecake and spiced apple filling creates an explosion of flavor that will keep everyone coming back for seconds.
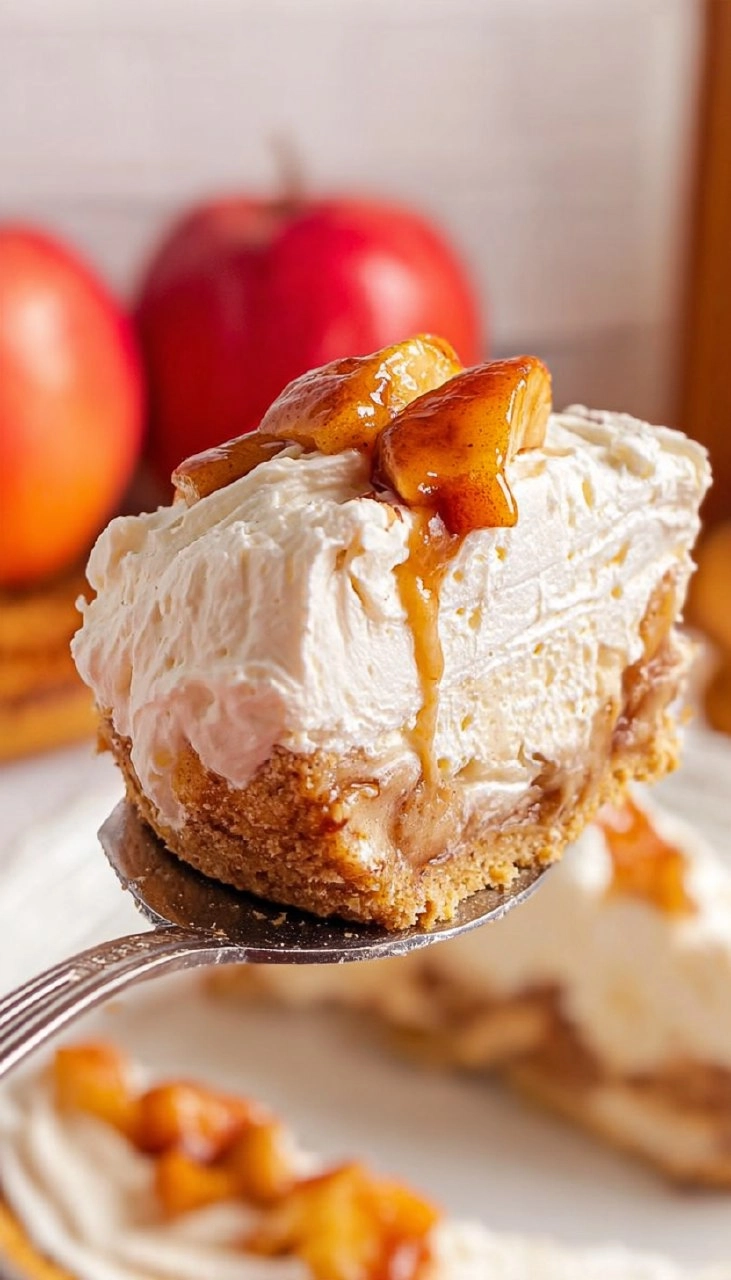
- Eye-Catching Appeal: With its beautiful layers and glossy apple topping, this pie is as pleasing to the eye as it is to the taste buds.
- Flexible Serving: Whether it’s a summertime barbecue, a holiday celebration, or just a cozy family dinner, this pie fits right in anytime!
- Diet-Friendly Options: Make this pie gluten-free by using a gluten-free graham cracker crust, allowing everyone to enjoy it!
Ingredients You’ll Need
- 1 9-inch prepared graham cracker crust: This is the base of your pie, providing that perfect crunchy texture. If you prefer, you can substitute it with a cookie crust like Oreo or a nut-based crust for a gluten-free option.
- 1 8 oz package cream cheese, softened: Cream cheese brings a rich, creamy texture to the filling. Make sure it’s at room temperature for easy blending; if you forget, microwave it for about 10 seconds to soften slightly.
- 1 cup powdered sugar: This sweetener not only gives the pie its sweetness but also helps the filling achieve a smooth consistency. You can use granulated sugar, but the texture won’t be as silky.
- 1 tsp vanilla extract: Vanilla enhances the flavors beautifully, contributing subtle warmth to the cheesecake. Always opt for pure vanilla extract for the best flavor!
- 1 tsp ground cinnamon: This spice ties the apple topping and cheesecake together with its cozy flavor profile. If you love its taste, consider adding a pinch more!
- 1 8 oz tub whipped topping (like Cool Whip), thawed: This lightens up your cheesecake filling, providing fluffy texture. If you want to make it from scratch, you can whip heavy cream until soft peaks form instead.
- 1 15 oz can apple pie filling: The star of the show, this sweetened apple mixture is what makes this pie special. For a homemade touch, you can make your own apple filling with fresh apples, sugar, and spices.
How to Make Creamy No Bake Apple Cheesecake Pie
- Beat the Cream Cheese: In a medium bowl, beat 1 8 oz package of softened cream cheese using an electric mixer until smooth and creamy. I recommend starting on a lower speed to avoid splattering.
- Add the Sweetness: Gradually mix in 1 cup powdered sugar, 1 tsp vanilla extract, and 1 tsp ground cinnamon. Keep mixing until everything is well combined and creamy.
- Fold in the Whipped Topping: Gently fold in 1 8 oz tub of thawed whipped topping until it’s fully incorporated. You want to maintain that light, airy texture, so be gentle to avoid deflating it!
- Fill the Crust: Spoon the cream cheese filling into the prepared 9-inch graham cracker crust. Smooth the top with a spatula to create an even surface.
- Chill Until Set: Cover the pie with plastic wrap and refrigerate for at least 4 hours, ideally overnight if you can wait. This helps the filling firm up and develop flavor.
- Top with Apple Filling: Just before serving, spoon 1 15 oz can of apple pie filling over the top. This last step adds a beautiful and delicious layer, making the pie look irresistible!
- Serve & Enjoy: Slice the pie and serve chilled. Watch as everyone asks for seconds!
Storing & Reheating
This pie is best stored in the refrigerator, where it can last up to 5 days in an airtight container. If you need to, you can freeze it for up to 3 months. Just wrap it well to prevent freezer burn. To thaw, leave it in the fridge overnight before serving. While the texture may slightly change in the freezer, a little chilling can refresh that creamy goodness when you serve it again!
Chef’s Helpful Tips
- Checking the cream cheese: Ensure it’s softened properly to avoid lumps in your filling.
- Don’t rush the chilling: Give it at least 4 hours to set so that the slices come out beautifully without falling apart.
- Swap it up: Use different pie fillings like cherry or blueberry for a new twist!
- Taste test: Adjust the sweetness of the filling to your preference — add a touch more sugar if you like it sweeter.
- Make it a day ahead: This pie gets even better after a night in the fridge, allowing all the flavors to meld beautifully.
Creamy No Bake Apple Cheesecake Pie is not only super simple to make but also a deliciously satisfying dessert that’s sure to impress. I hope you feel inspired to give this recipe a try, perhaps even putting your own spin on it! No matter how you choose to serve it, I guarantee your family and friends will be raving about this delightful treat.
Recipe FAQs
Can I use fresh apples instead of apple pie filling?
Absolutely! You can make your own apple pie filling using peeled, diced apples sautéed with sugar and cinnamon. Cook them until they’re tender; then, cool them before adding to the pie.
How do I make this recipe gluten-free?
To make a gluten-free version, simply swap the graham cracker crust for a gluten-free crust, and check the whipped topping for gluten content. Many brands offer gluten-free options.
Can I make the filling ahead of time?
Yes! You can prepare the cheesecake filling and store it separately in the fridge for up to 2 days before assembling. Just remember to give it a good stir before using.
How do I know when the pie is set perfectly?
The pie should be firm enough to hold its shape when sliced but still creamy to the bite. Refrigerating for a longer time enhances its texture, and it’s well worth the wait!
PrintMore Desserts & Appetizers Recipes
- Easy Coconut Cream Cheesecake Bars for Tropical Dessert Lovers
- Amazing Caramel Apple Cheesecake
- Easy Caramel Apple Empanadas
- Carrot Cake Bars
Did You Enjoy Making This Recipe? Please rate this recipe with ⭐⭐⭐⭐⭐ or leave a comment.
📖 Recipe Card

Creamy No Bake Apple Cheesecake Pie
- Prep Time: 75 minutes
- Cook Time: 0 minutes
- Total Time: 1 hour 15 minutes
- Yield: 8 servings 1x
- Category: Desserts & Appetizers
- Method: No Bake
- Cuisine: American
Description
This Creamy No Bake Apple Cheesecake Pie is irresistibly flavorful and easy to prepare, featuring smooth cream cheese, fluffy whipped topping, and sweet apple pie filling, making it a perfect dessert for any occasion.
Ingredients
- 1 9-inch prepared graham cracker crust
- 1 8 oz package cream cheese, softened
- 1 cup powdered sugar
- 1 tsp vanilla extract
- 1 tsp ground cinnamon
- 1 8 oz tub whipped topping, thawed
- 1 15 oz can apple pie filling
Instructions
- In a medium bowl, combine softened cream cheese with powdered sugar, vanilla extract, and ground cinnamon. Beat until smooth and creamy.
- Gently fold in the thawed whipped topping until fully blended and fluffy.
- Spoon the creamy mixture into the prepared graham cracker crust and smooth the top evenly.
- Cover the pie and refrigerate for at least 4 hours, or until set.
- Before serving, spoon the apple pie filling over the top of the chilled pie.
- Slice and serve while chilled.
Notes
Ensure the cream cheese is softened to room temperature for easy mixing.
Allow the pie to chill for longer if possible for a firmer texture.
Feel free to add some extra cinnamon on top for more flavor.
Nutrition
- Serving Size: 1 slice
- Calories: 260
- Sugar: 16g
- Sodium: 220mg
- Fat: 18g
- Saturated Fat: 9g
- Unsaturated Fat: 5g
- Trans Fat: 0g
- Carbohydrates: 26g
- Fiber: 1g
- Protein: 2g
- Cholesterol: 30mg